The second instalment of a four-part paddleboarding video blog for Two Bare Feet. In this episode we rejoin Nicole and Robb, as they hike through the woodland surrounding Ardingly Reservoir to reach the place where they will set up and launch their inflatable SUPs.
Hello again everyone – Nicole here! I’m glad you’re able to rejoin us on the second part of our iSUP excursion. Robb and I have finally made it to Ardingly Reservoir, so now it’s just a case of finding the perfect spot to set up and launch our boards. Come with us – it’ll be fun!
Transporting the boards
We love coming to Ardingly for a few hours in paddle boarding paradise. Robb and I like to hit the water early to avoid the crowds; today is no different. The reservoir is empty of all activity, bar a few dog walkers.
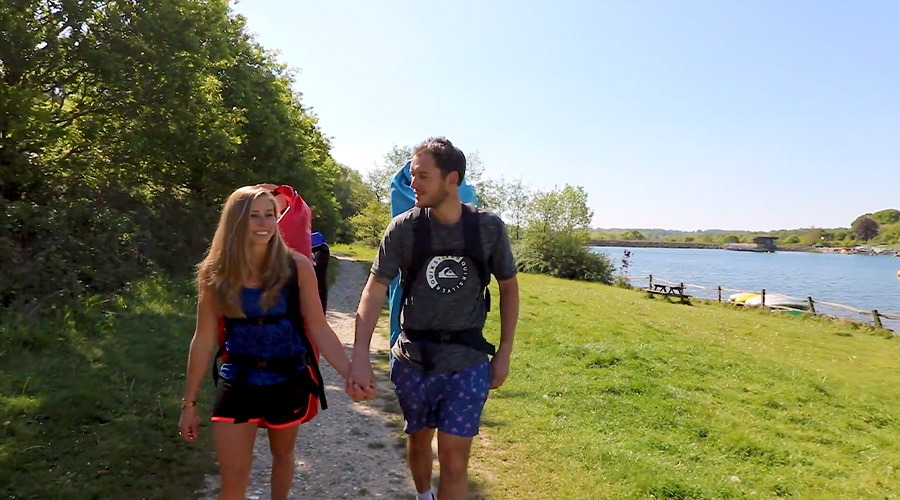
We’re headed to the opposite end of the site, which means a hike of around a kilometre through peaceful woodland. Fortunately, we’re carrying inflatable boards, which means they’re lightweight and easy to carry. All the necessary equipment fits neatly into a dry bag, which I can wear as a rucksack.
What’s great about using a dry bag is that, at the end of our paddleboarding session, we can easily navigate to a nearby landing point, without worrying about our belongings getting wet.
The best SUP conditions
We’ve reached the season when you can paddle in your swimwear rather than a wetsuit, which I love (it was a very different story back in March!) The summer heat isn’t as severe as I’m used to back in the US, so it should be a much more comfortable experience.
Arriving early means no-one else is on the water, giving us free rein to explore the reservoir’s many hidden nooks. Ardingly is a popular centre for water sports and can get busy; we often see other people paddleboarding, kayaking, and – on the occasions that the wind manages to pick up – windsurfing or sailing.
However, the surrounding trees work like a windshield, so the reservoir tends to be favoured by paddle boarders seeking calmer, still waters. It’s a great place to learn the basics: maintaining your balance, paddling in a straight line and shifting your weight to turn will be easier for those with less experience.
If you’re looking for a leisurely day on the float, you couldn’t pick a better location. It’s a great opportunity to take advantage of the additional volume afforded by larger, 6” thick SUPs like ours: you can carry extra weight – maybe take some food for the journey, or even invite another person to kneel on the board and share the ride with you!
Using a stand-up paddle board pump
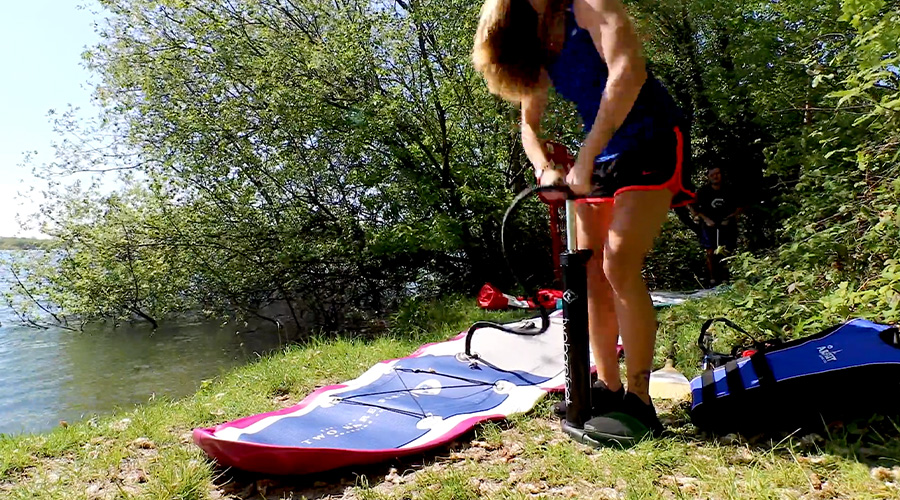
We’ve made it to the launch spot, now it’s time to get pumping! Every Two Bare Feet inflatable paddleboard comes with a SUP pump, which makes short work of the inflation process. When choosing your launch point, make sure you have enough room to lie your board flat, otherwise you’ll find it tricky to fully inflate.
When you use a SUP pump, try to find a comfortable position, remember to bend your knees, and maintain a reasonable speed and rhythm. Be sure to close the board valves, otherwise all the air will spill out again once you remove the nozzle, and your hard work will have been wasted!
With our boards, it’s recommended you inflate to between 15–22 PSI, depending on your weight and size. I’m using a SUP board which is a little larger than I need, so I can afford to only inflate to the minimum pressure rating. It’s also a double chamber model – there are two air compartments instead of one. The extra stability and strength this addition provides makes for a great ride.
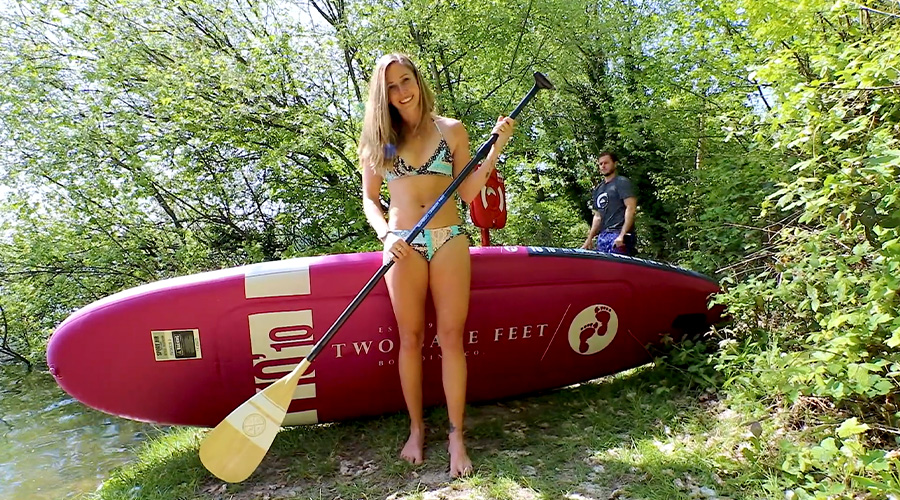
Once your paddleboard is properly inflated you can attach the leash and fin. You should also re-adjust your paddle so it’s the same length as your arm span, and ensure that – once you’re on the board – the blade is fully submerged.
Getting your inflatable SUP onto the water
Launching is easy to master – you’ll be a pro once you’ve done it a few times.
Kneel one leg on the board and keep the other in the water, then gradually push yourself out. When you’re far enough in, use the submerged leg to kick off, and you’re away!
Once you’ve launched, don’t forget to double check you’re able to fully submerge the blade of your paddle – if not, it’s worth readjusting.
I know it’s called stand-up paddleboarding, but I find it really relaxing to kneel or sit on my board too. If you’re a beginner I’d recommend trying this first; it’s a great way to get to grips with balancing and paddle technique.
Next: Aqua Adventures!
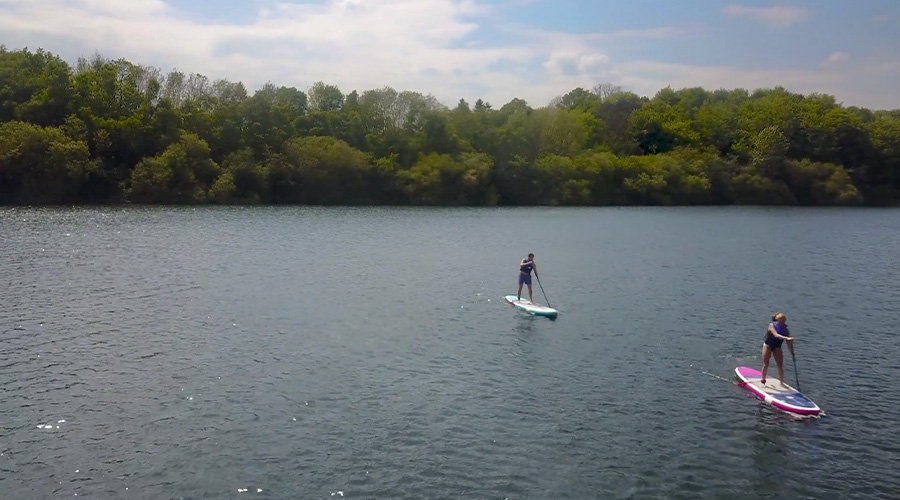
Despite this morning’s journey and preparation, we’re still lucky enough to have the reservoir to ourselves. Now we’ve finally made it out on the water, it’s time to get the most out of our new SUP boards!
In the third part of our excursion series, Robb and I will be casting ripples in the reservoir as we take a tour of the still waters, enjoy the beautiful natural scenery and meet up with an old friend! I hope you’ll stop by and join us!

